Hi Friends .. How you all are ?? You all must be doing great !!
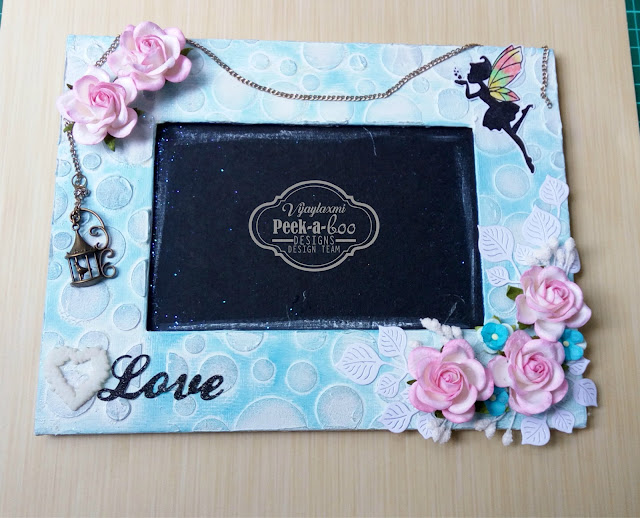
Today its my turn to share a tutorial so sharing a picture frame !!
So without any delay here we go --
1) Take a Chipboard Photo frame .(Either Readymade or handmade )
2) Apply white Acrylic paint to cover the frame .
3) Then I Used PABD Bubbles Stencil & Texture Paste to give the frame a nice texture !!
4) Actually I thought to add color to my texture paste & for some vintage look I added vintage photo DI and applied that brownish texture paste but after doing this I didn't felt good about the outcome & it seems like a blunder so I applied a coat of Gesso over the stenciled area !!
With a coat of Gesso -
5) Then I again distressed it with broken china DI ..now when its looking some better , I started decorating it ..!!
Some More Ink -
6) Decorate it as per your choice. I used PABD Magical Fairies Stamp Set & PABD Love Word Die Cut to decorate my frame along with some Flowers & other embellishments.
7) Hope you like my attempt.
I hope you all are submitting your beautiful entries to our August Color Inspiration Challenge !!
Products Used -


Thanks for Stopping by & leaving me love !!
Hugs ..
Vijaylaxmi.


Beautiful frame! Love the flowers
ReplyDeleteTotally awesome creation ! Love the details
ReplyDelete